Google Analytics
Google Analytics Guide
- Using Google Analytics for user behavior insgihts. Be able to view how many users interact with the website.
- Keep custom reports on dashboards. Focus on the metrics that matter most.
This guide will walk you through the process of integrating Google Analytics into Cascade CMS. There are two key sites you'll need to visit: CPP Cascade Dashboard and CPP eHelp.
First, visit your CPP Cascade Dashboard and follow the steps below:
Add the Analytics Widget on Cascade CMS
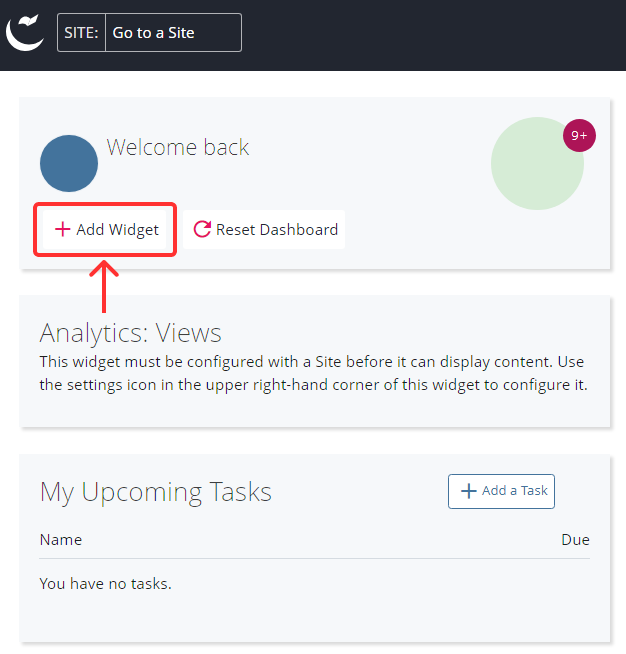
Step 1: Log into your CPP Cascade Dashboard. You should be on the Dashboard page.
Step 2: In the section labeled with your name, click on the button below that is labeled "Add Widget" and features a plus button.
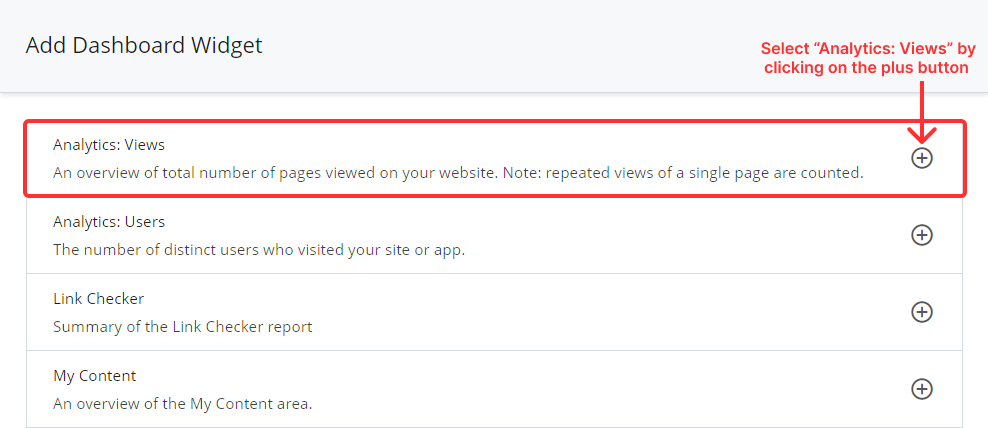
Step 3: A pop-up labeled "Add Dashboard Widget" with appear, presenting various widget add-ons. Choose "Analytics: Views" by clicking on the plus button.
Step 4: Returning to the Cascade Dashboard, a new section labeled "Analytics: Views" appears beneath the section with your name. In this section, two mandatory selections are required. For "Site," choose the specific site you want to view analytics for. In the "Interval" option, select one of the four intervals: day, week, month, or year, to analyze the data within specific time periods.
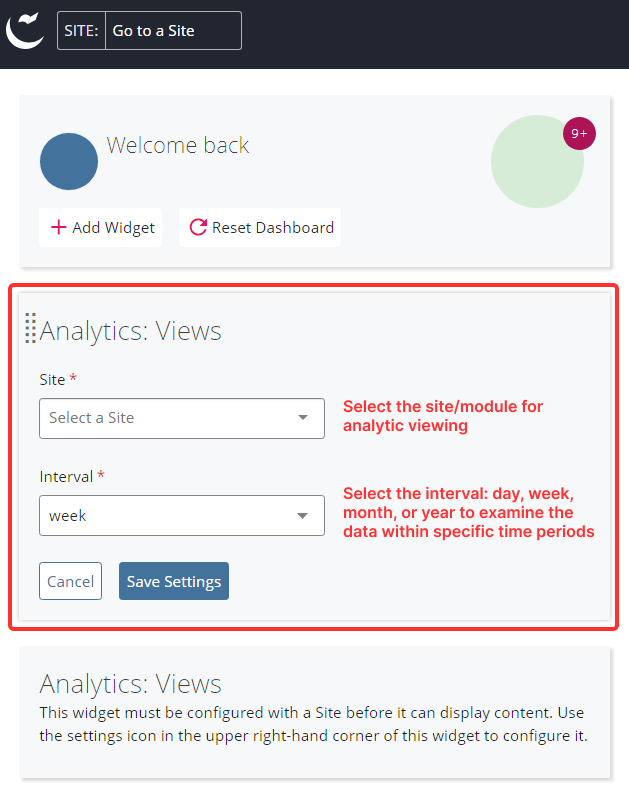
Step 5: Choose the site/module and one of the four intervals for viewing. Click on "Save Settings". Depending on your site selection, you will either receive analytics or a message indicating that Google Analytics has not been set up for the chosen site/module.
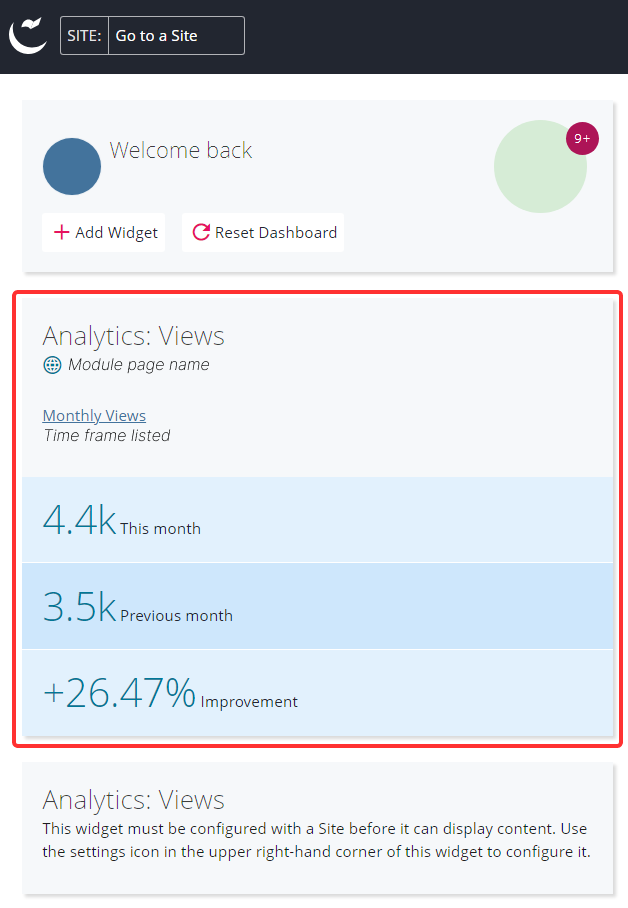
Step 6: Lastly, you should receive an analytics report summarizing the site. Refer to the sample image below:
Once you have finished adding the analytics widget to your Cascade Dashboard, now you have to visit CPP eHelp and follow the steps below:
Submit a Google Analytics Request on eHelp
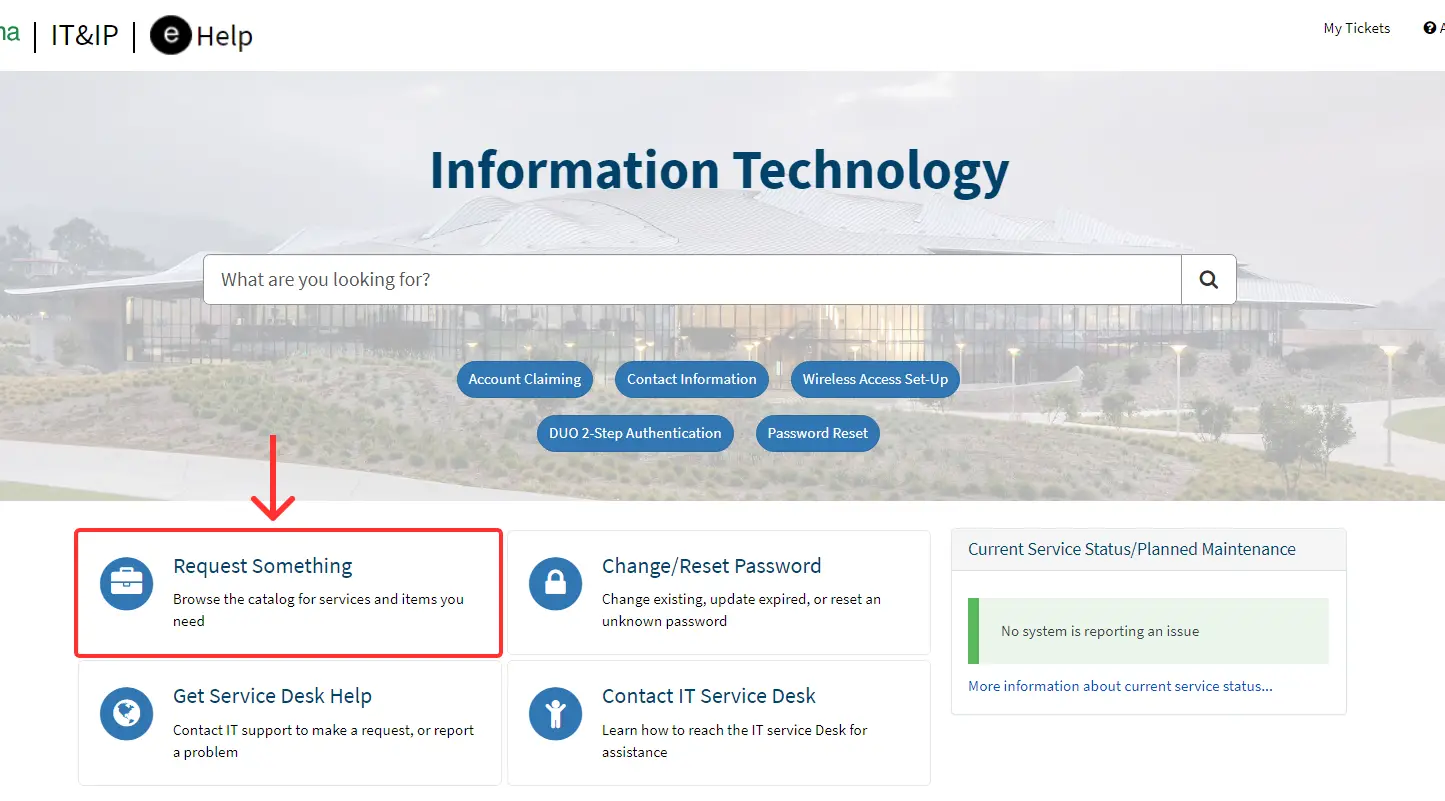
Step 1: Log into your CPP eHelp account. You should see "Information Technology" as the front header. In the card section below the search bar, select "Request Something".
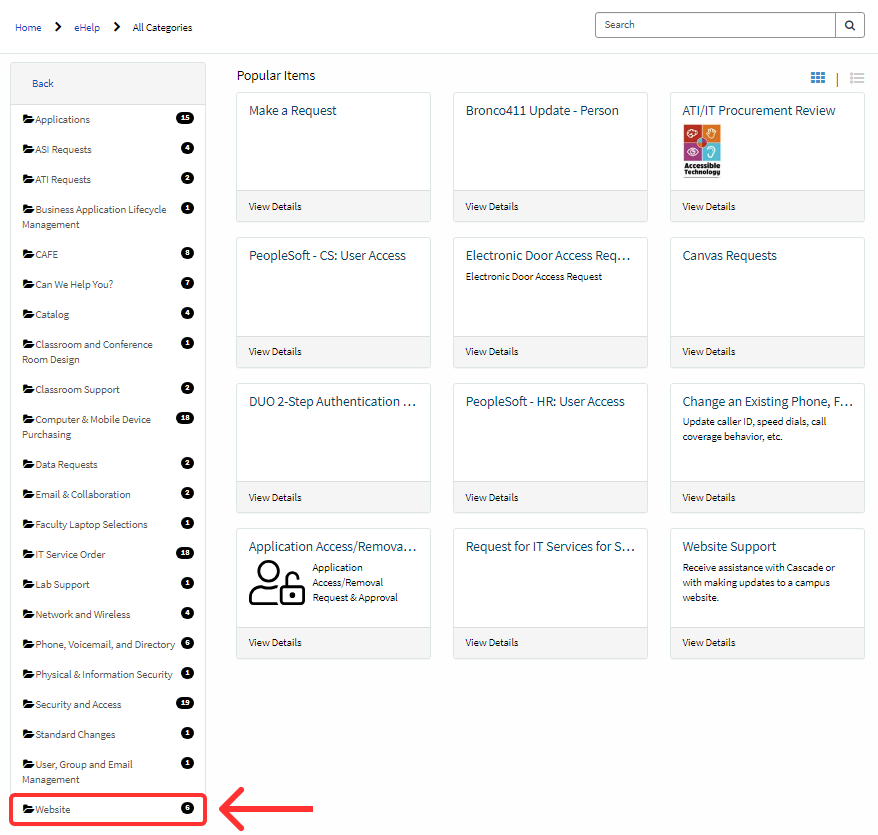
Step 2: After selecting "Request Something", navigate through the categories. Scroll down until you locate the "Website" category, and then select it.
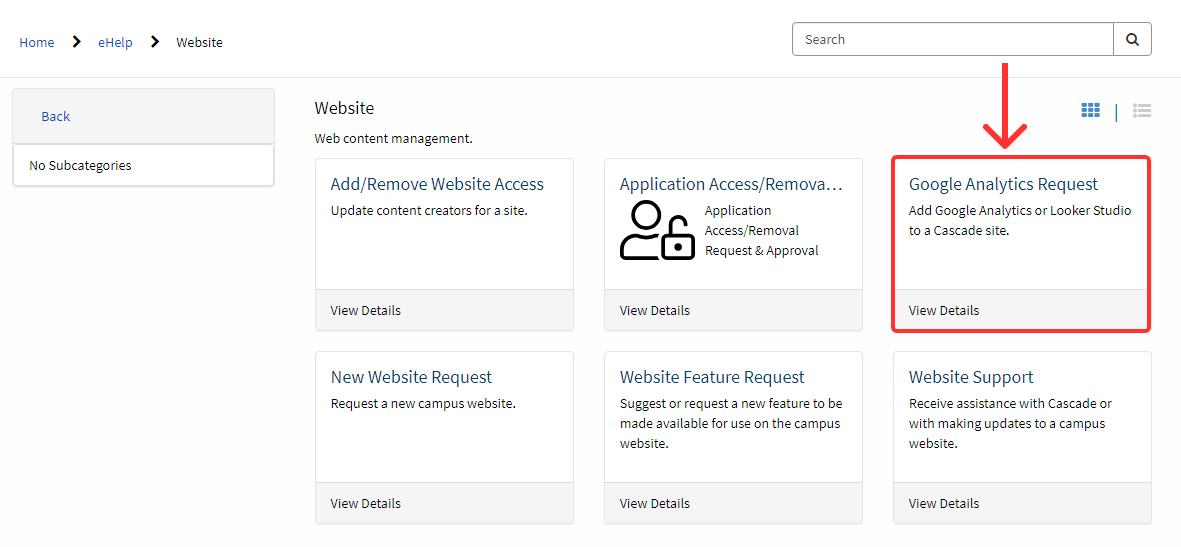
Step 3: Once you've selected"Website" and land on a page with six different forms, locate and select the "Google Analytics Request" form.
Step 4: Fill out all the necessary fields in the "Google Analytics Request" form, ensuring to check any boxes for the specific type of analytics you wish to access.
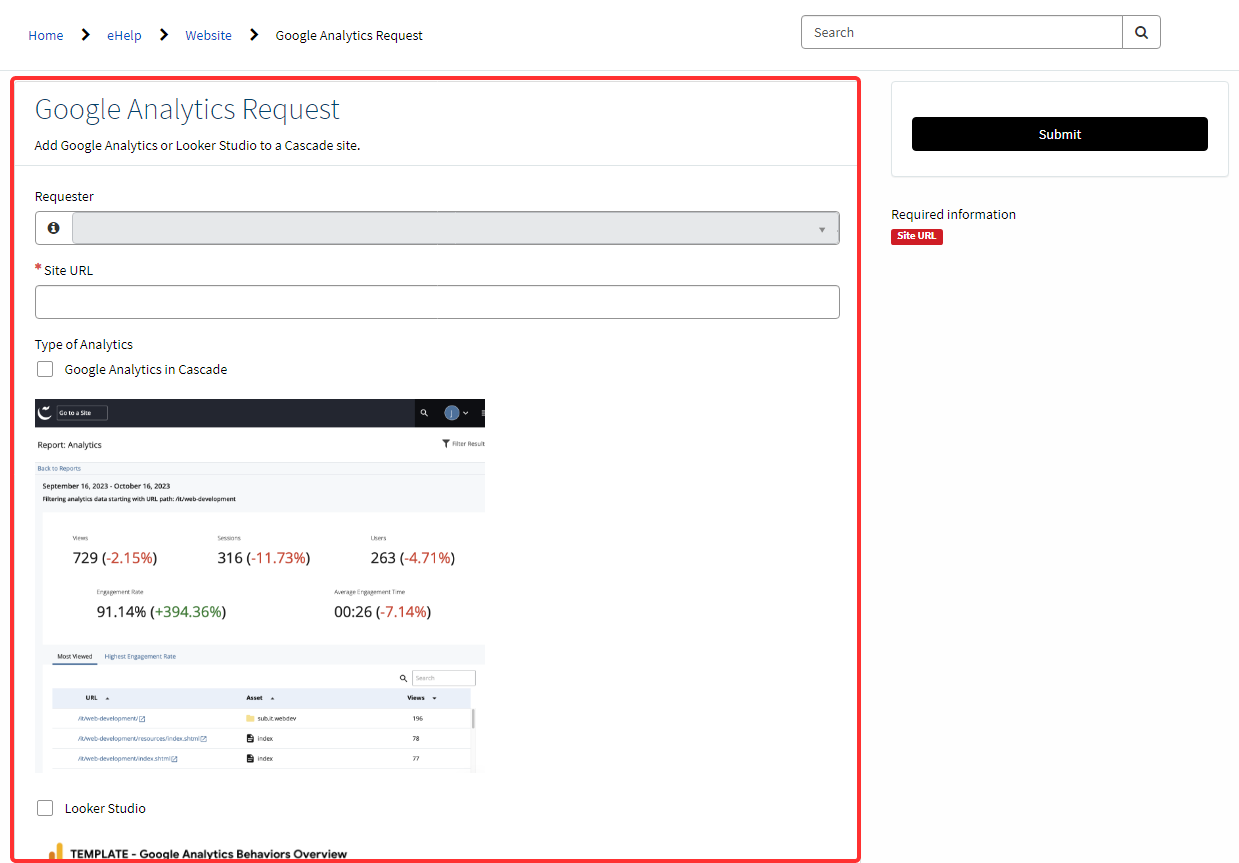
Step 5: Submit the form by selecting "Submit" and wait for a confirmation and response from the IT Web Development Team.
That is the end of the Google Analytics Guide.