Directory Content Lister Guide
- Using a directory content lister will list out all viewable PDFs, Word, or Excel. This allows users to view a list of all files and subdirectories within a specific directory in the CMS.
- This provides users with an organized view of the content stored within a directory, making it easier to navigate and manage files and folders. A type of management system.
This module will contain examples and a step-by-step guide how to add the directory content lister feature into your own Cascade page.
Example:
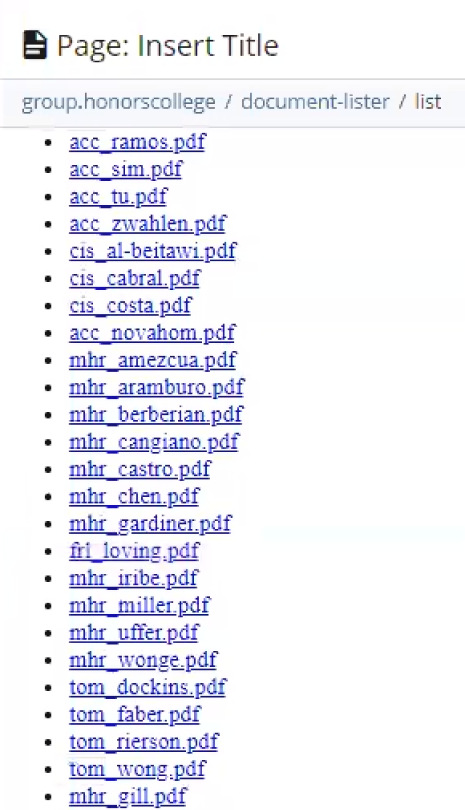
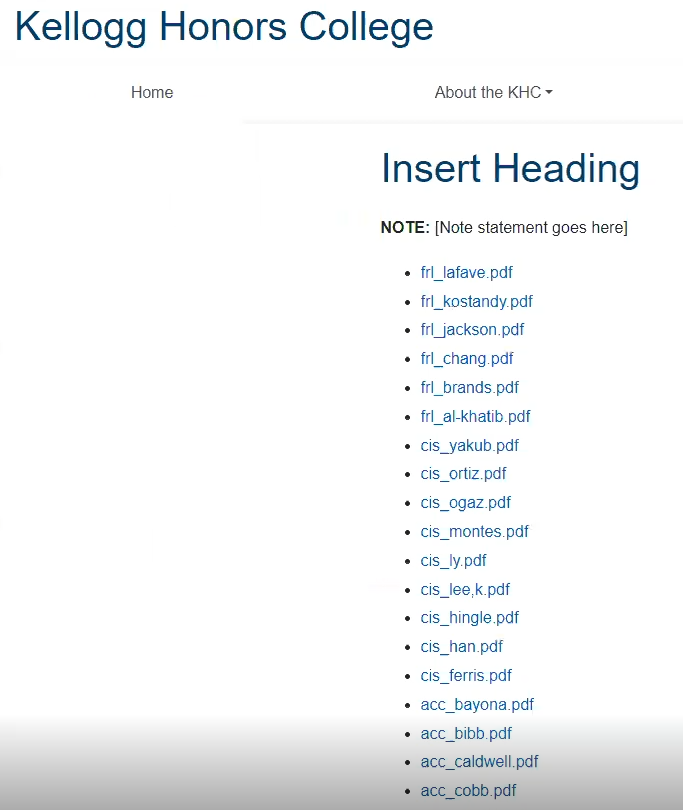
Cascade side of the document lister |
Official CPP site side of the document lister |
|---|---|
 |
 |
Accessing and Setting Up Diretory Content Lister
The Directory Content Lister is not an "Add Content" method. In order to get the "Block", you need to go to "Marketplace" on Cascade.
Step 1: Log into your CPP Cascade Dashboard. You should be on the Dashboard page.
Step 2: Above your name and beside the Cascade logo, locate and click on the button labeled "SITE: Go to a Site".

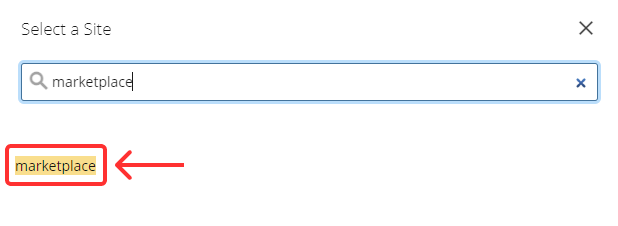
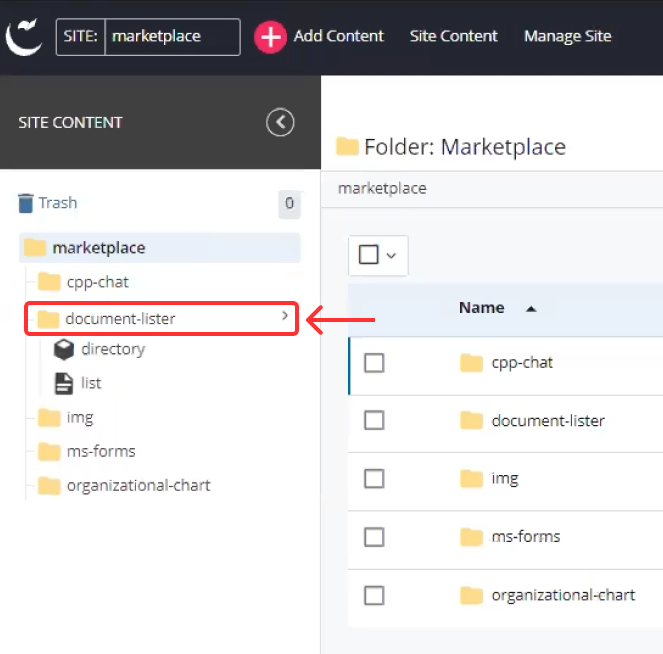
Step 3: A pop-up labeled "Select a Site" with appear, presenting various sites. Type in "marketplace" and click on the highlighted word "marketplace". You should see the "document-lister", "ms-forms", and "organizational-chart" folders.
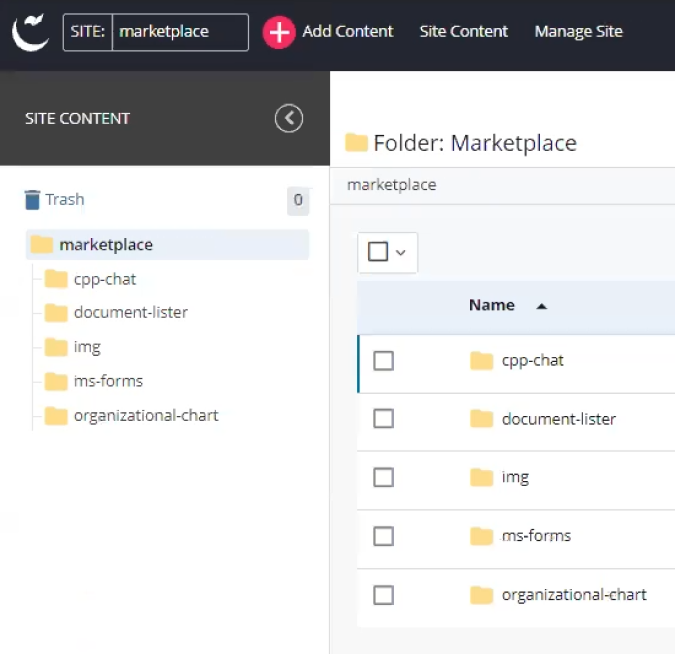
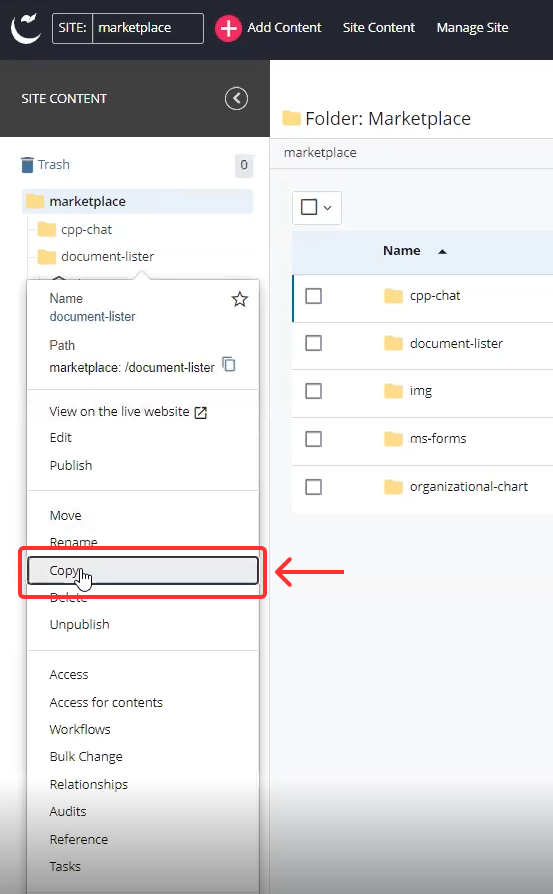
Step 4: Hover your mouse over the "document-lister" folder, then right-click on it. A rectangular pop-up menu will appear. Move your mouse cursor downwards until you see the option "Copy", then left-click on it.
 |
 |
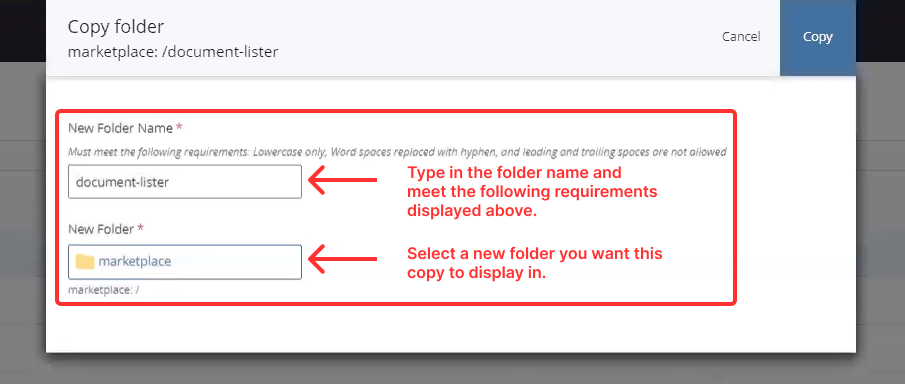
Step 5: First, select the new folder location where you want to copy the folder. Then, proceed to rename your new folder, ensuring that it meets the requirements listed below "New Folder Name".
Step 6: A confirmation pop-up will appear at the bottom of your page, indicating that the "document-lister" folder has been successfully copied to your new folder or site location.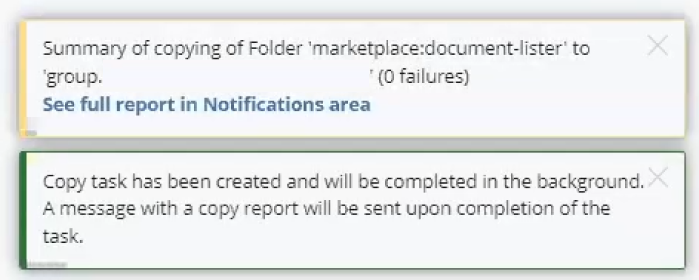
After completing these steps, you can return to your website, where the 'directory-listing' folder has been successfully copied and is now located within your site's directory structure. The next steps are to add the block content into your content pages:
Adding Block: Directory Module Into Content Page:
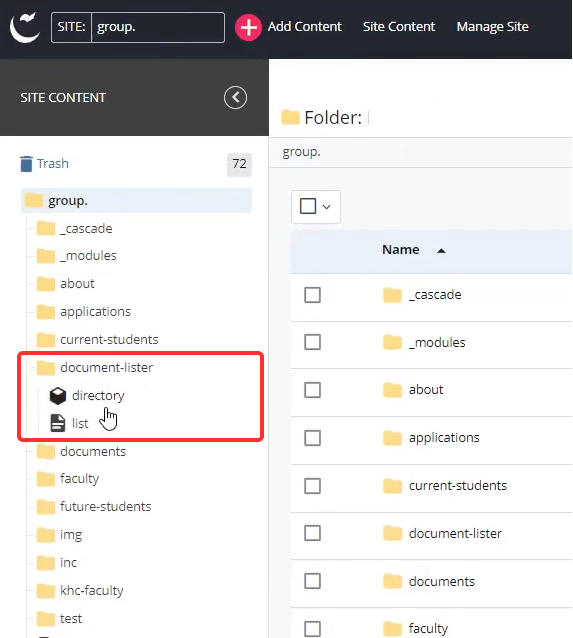
Step 1: To add the block content to your content page, first, select the "SITE: Go to a Site" option. Then, type in your site's name and click on the correct site from the list of options. Once you are on the correct site, you should see a new folder labeled "document-lister" with two contents: a block named "directory" and a content page named "list".
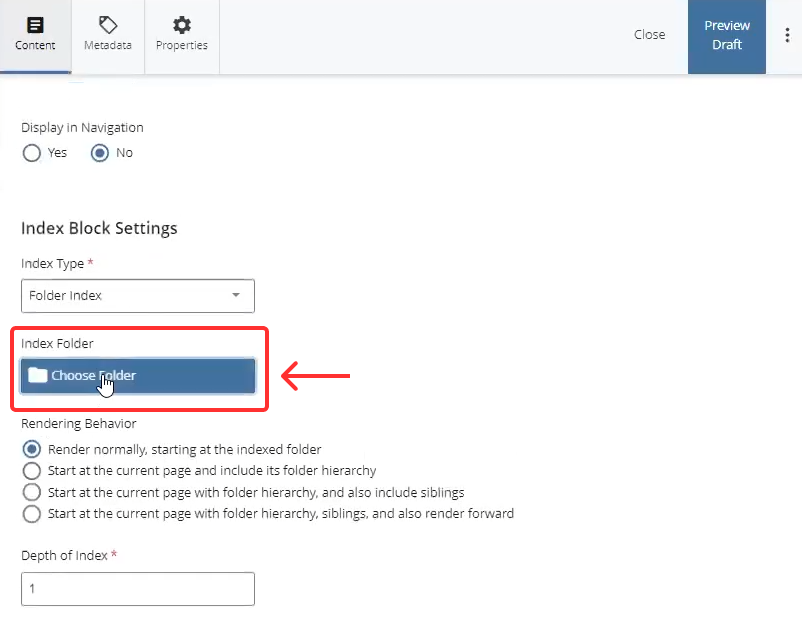
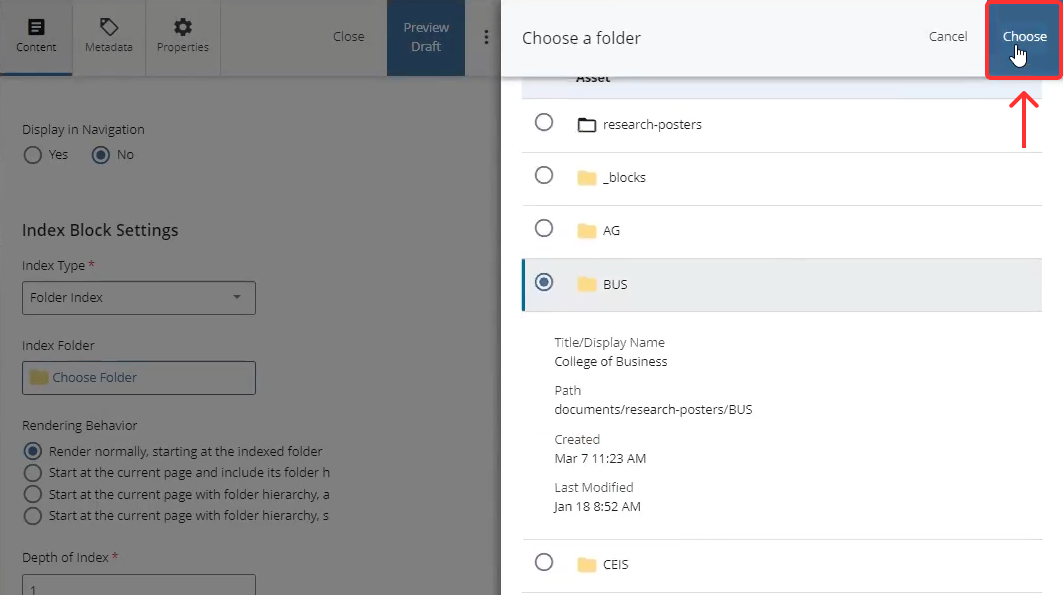
Step 2: Select the "directory" block, then navigate to the top right of the page and click on "Edit". Here, you'll be able to add your documents folder, file, or list. Under the "Index Block Settings", choose the "Index Folder", and click on "Choose Folder". Locate the folder that contains the list of documents you wish to display on the page and press the blue "Choose" button.
 |
 |
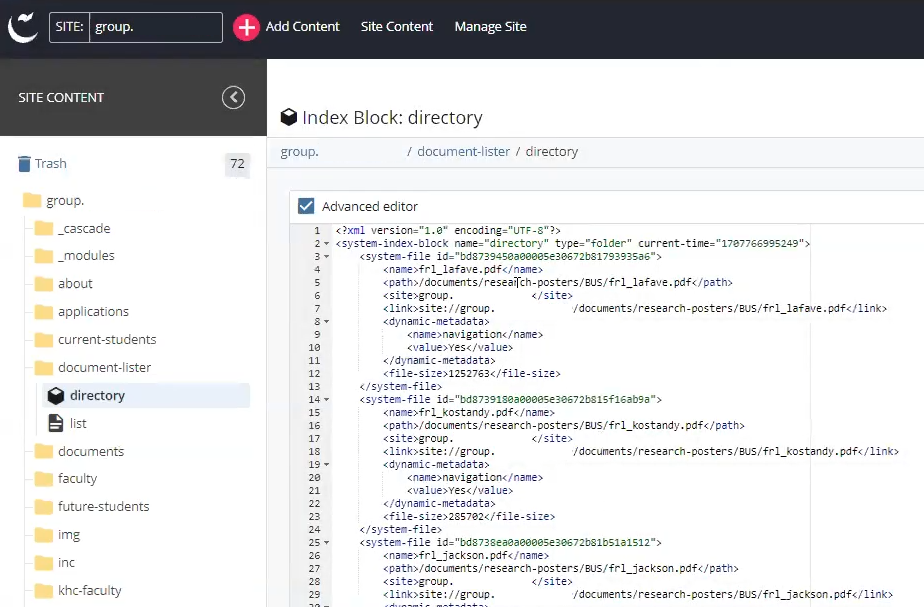
Step 3: Click on "Preview Draft" and finally "Submit" to save your changes. The image below displays what your directory block should display, depending on how many files there are in the folder.
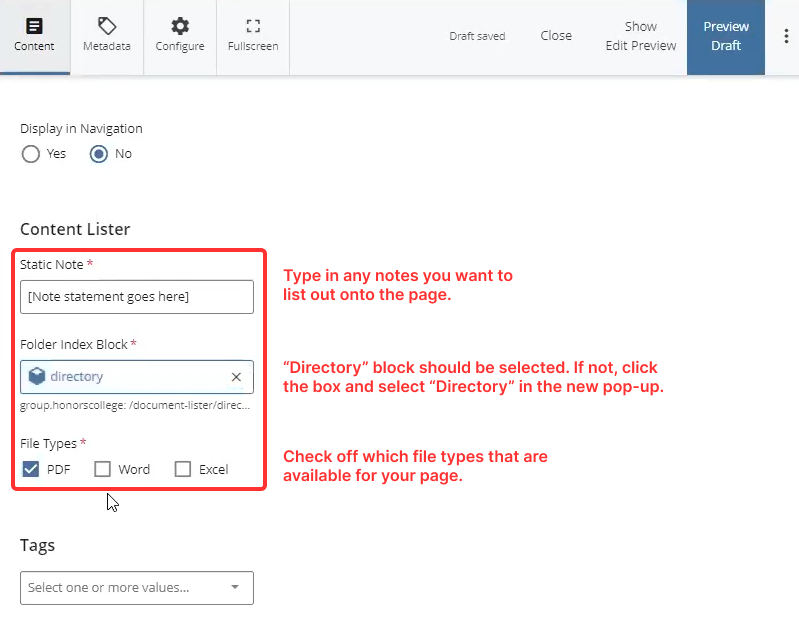
Step 4: Head over to "list" and a list of the PDFs should display. To edit any notes or file types, head over to "edit" and make those changes.
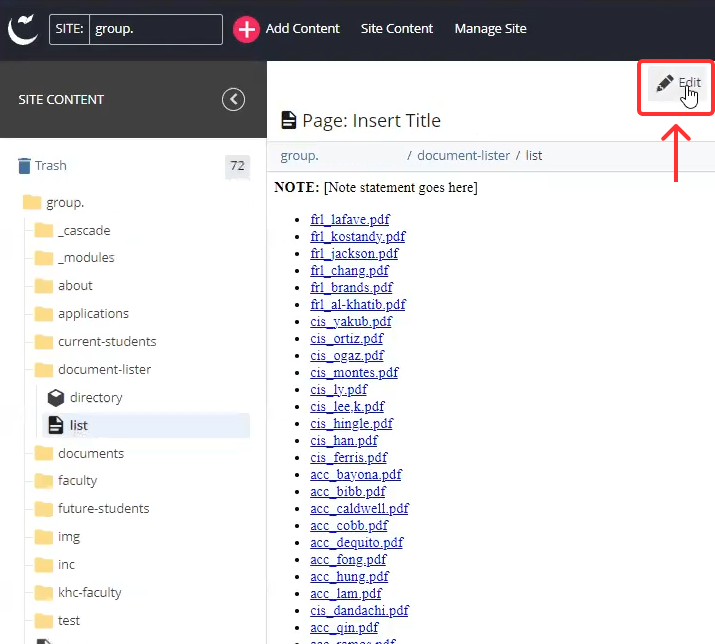
Step 5: After you are done with your changes, make sure to Submit and Publish the list content page. Further instructions on how to submit and publish can be found here: Submitting Content Guide.
Step 6: If necessary, create a new entity content page for the directory block. Otherwise, locate the existing page where you want to display the list. Once you've found the new or existing content page, proceed to edit it. Scroll down to the "Content" section and under "Content Type", select "Module".
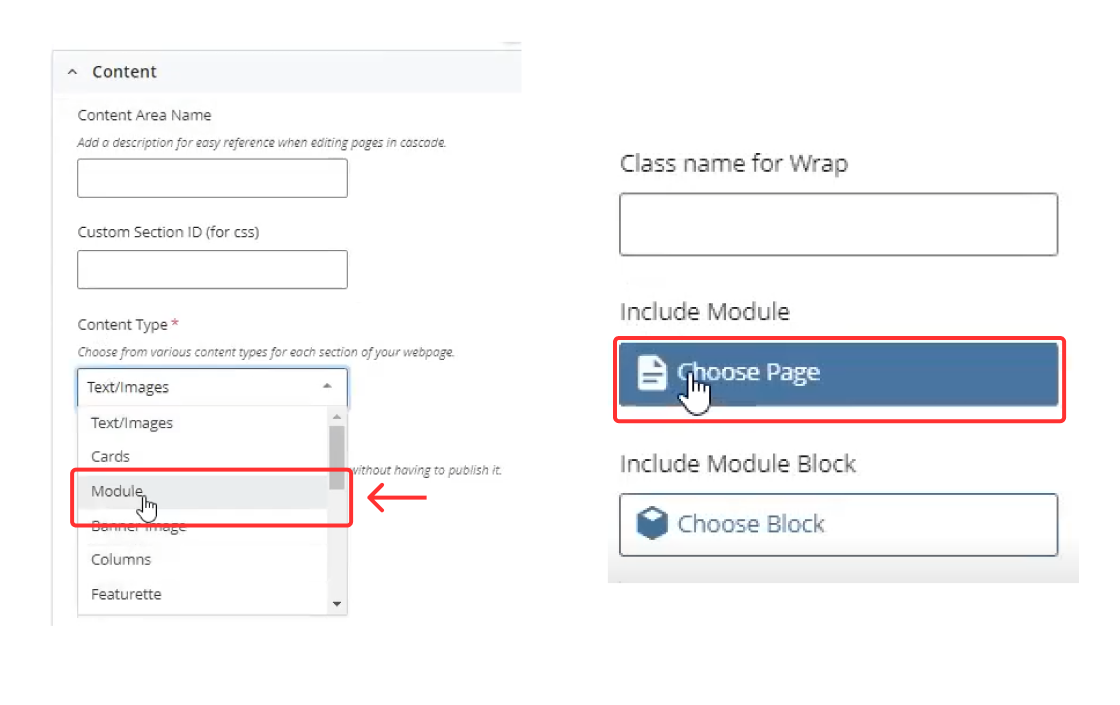
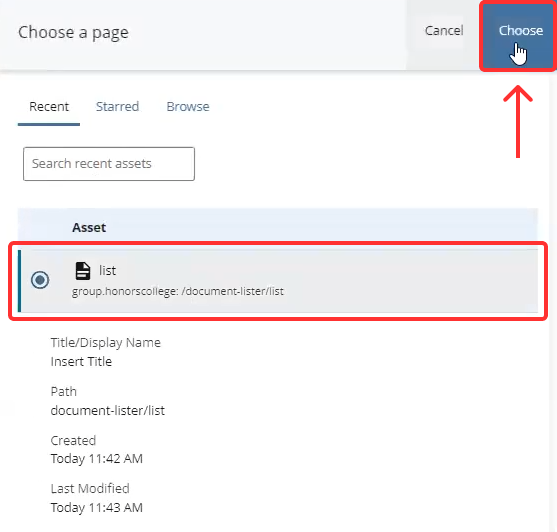
Step 7: After selecting "Module" as the "Content Type", find the "Include Module" section and click on the blue "Choose Page" button. Locate the list that was created earlier, either through the "Recents" tab or the "Browse" tab. Select the desired list and click on "Choose".
Step 8: Lastly, make sure to Publish the list first and then Submit and Publish the content page. Further instructions on how to publish can be found here: Submitting Content Guide.
Step 9: Your new content page should display the directory listing. An example is shown at the beginning of the guide.
That is the end of the Directory Content Listing Guide.