Adding Directory Listing Content
To start creating content for your website, go to the top left corner next to the site menu, and click on the Add Content button. Next, click on the Entity folder button and choose what you would like to use on the website. Below are cards with descriptions of the different icons that will show on the Entity folder.


1. Complete the required asterisks
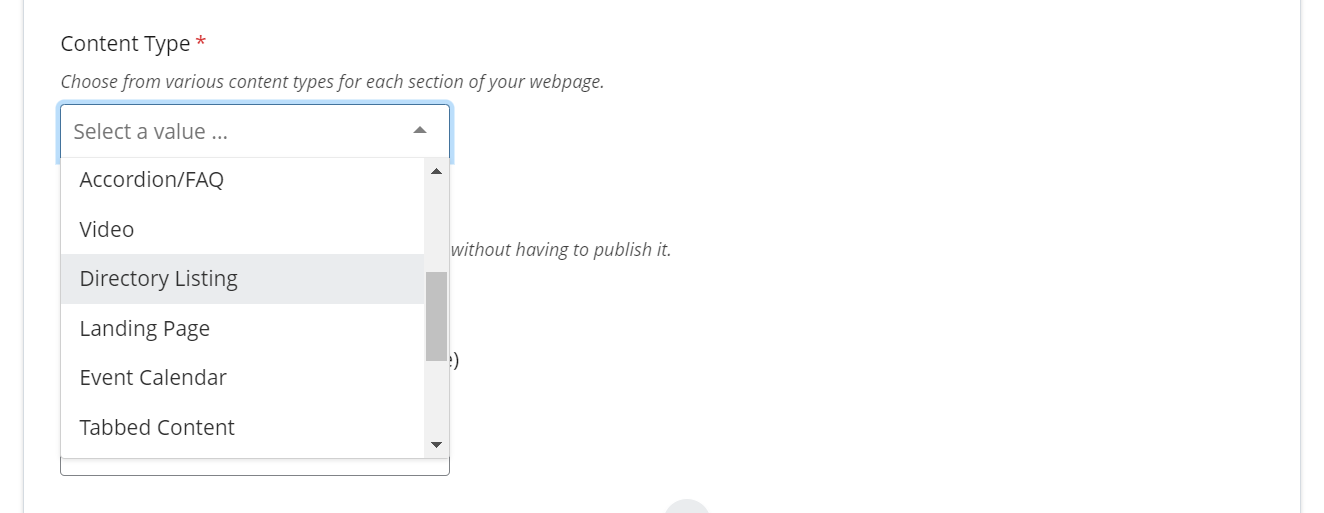
Make sure to fill in all the red asterisks, or else Cascade will prevent you from adding this folder until it is completed. Once you fill out the required information in the content page form as you learned before, now you will see the content Tab as in the following image, from the Content Type drop down menu choose Directory Listing.
2. Filling in the information for directory listing
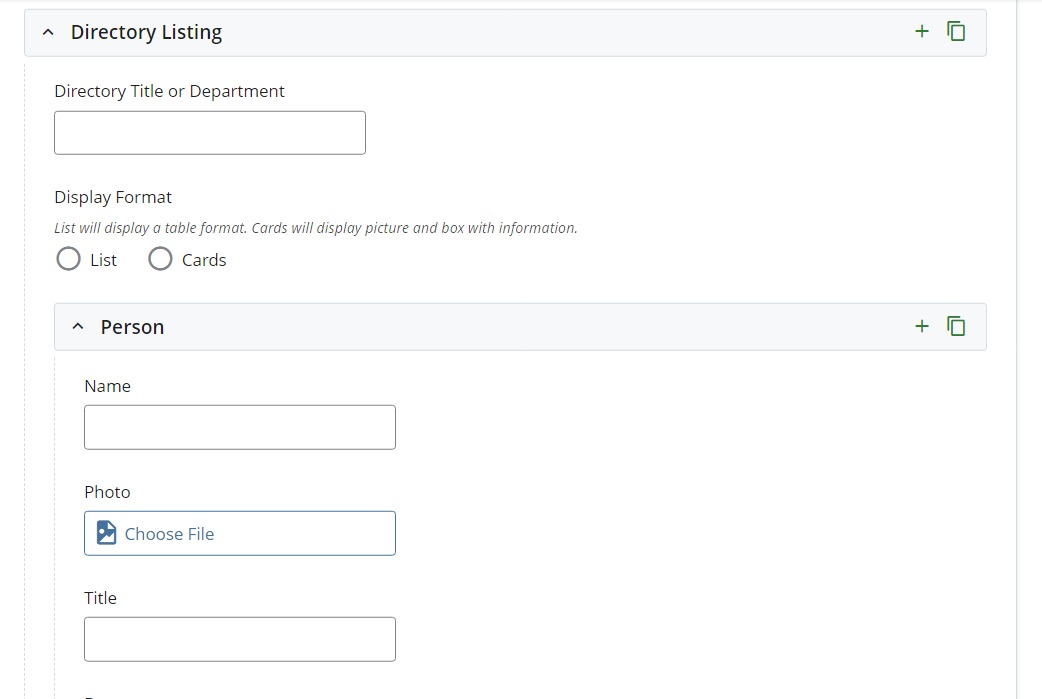
Add a section Title to the Directory Listing Section. Any staff, faculty, or student information can be added and displayed into the Person section. To add more into Directory Listing section, click the '+' next to the Directory Listing bar or Person bar.
3. Customizing the Directory List to the department's preference
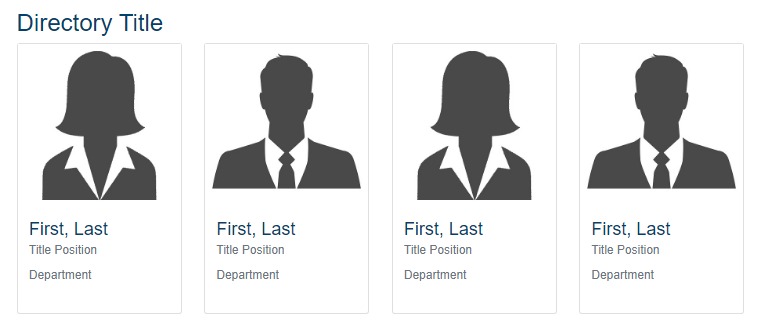
Displayed below is an example of Directory Listing with cards. Editors have the option to select Cards or Lists to display members. Not all information is required when adding in a person into the list.