Adobe Acrobat PDF Accessibility
 Adobe Acrobat PDF Accessibility
Discover techniques that can be used to make accessible PDF documents. In order to make your PDF documents accessible, you must use Adobe Acrobat Pro. This is not the same program as the free PDF reader known as Adobe Reader. Adobe Reader lacks many of the features used to make PDF documents accessible. The version used on this page is Adobe Acrobat Pro DC for PC.
A common practice for creating PDF documents is to first create a Word document and then convert that Word document to PDF. Be aware that starting with an accessible Word document doesn't necessarily mean that the resulting PDF document will automatically be accessible. Unless you absolutely need a PDF document, it is recommended that you stick with a Word document to avoid the additional steps needed to make the PDF document accessible.
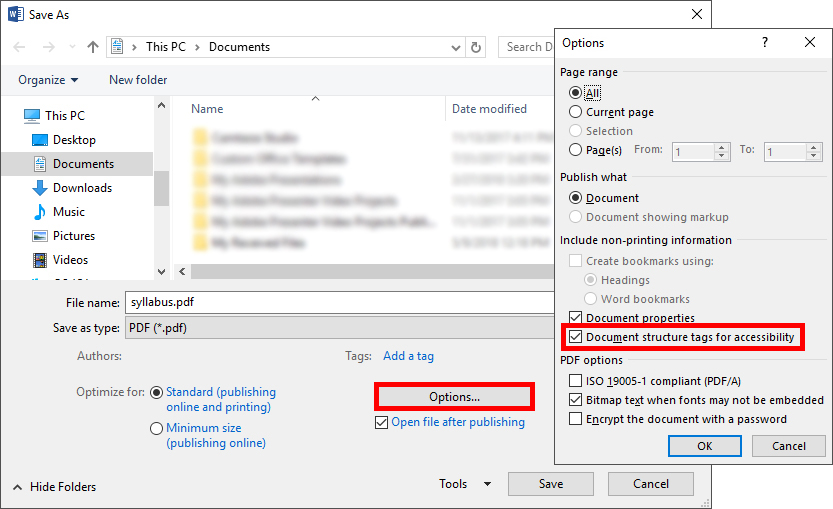
How to convert Word to PDF
- With the Word document open, select the File tab.
- Select Save As and choose a location to save the file.
- Enter a file name.
- Choose PDF (*.pdf) from the dropdown menu.
- Select More options.
- Select Options.
- Ensure that the Document structure tags for accessibility checkbox is checked.
- Click OK.
- Click Save.
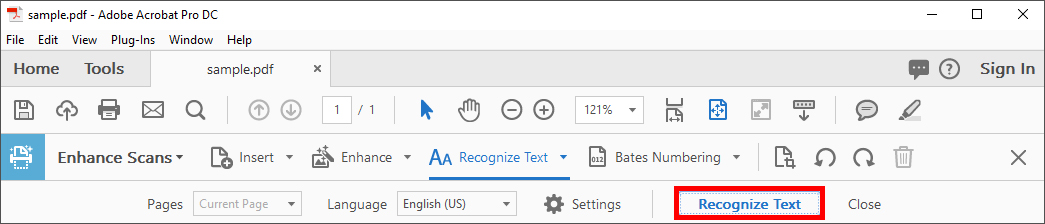
When a PDF document is created from a scanned physical document, such as a textbook, the resulting document is essentially one big image. Individual elements on the scanned PDF document cannot be selected, resulting in a document that cannot be read by a screen reader and cannot be understood by a visually impaired user. Optical Character Recognition (OCR) is the process that converts scanned documents into selectable and editable data. Running OCR is the first step in preparing scanned documents to be made accessible.
How to run OCR
- Select the Tools tab.
- Select Enhance Scans.
- Select Recognize Text and then select In This File.
- Select Recognize Text.
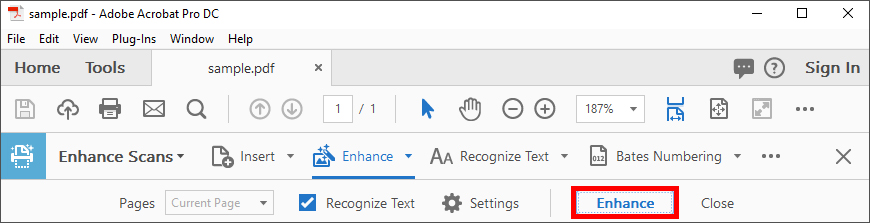
Enhance the scan quality
Does your document look a little grainy? Try enhancing the quality of the scanned document.
- Select the Tools tab.
- Select Enhance Scans.
- Select Enhance and then select Scanned Document.
- Select Enhance.
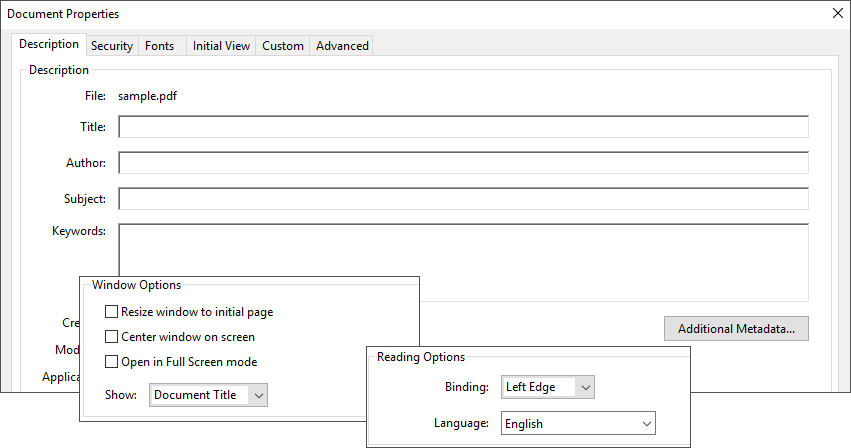
All PDF documents have a few properties that must be changed to be accessible. These properties not only help with the accessibility of the document but also the readability.
How to change PDF properties
- Right-click on the document.
- Select Document Properties.
- On the Description tab, give the document a Title, Author, Subject, and Keywords.
- On the Initial View tab, select Document Title from the Show dropdown menu.
- On the Advanced tab, select English from the Language dropdown menu.
- Click OK.
All objects, such as text and images, should be tagged. Tags are hidden to visual users but they are essential in allowing visually impaired users using screen readers to understand the PDF document’s structure.
How to add tags
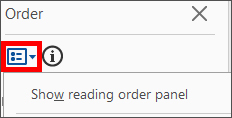
- Select View and then select Show/Hide > Navigation Panes > Order.
- Select the Options icon and then select Show reading order panel.
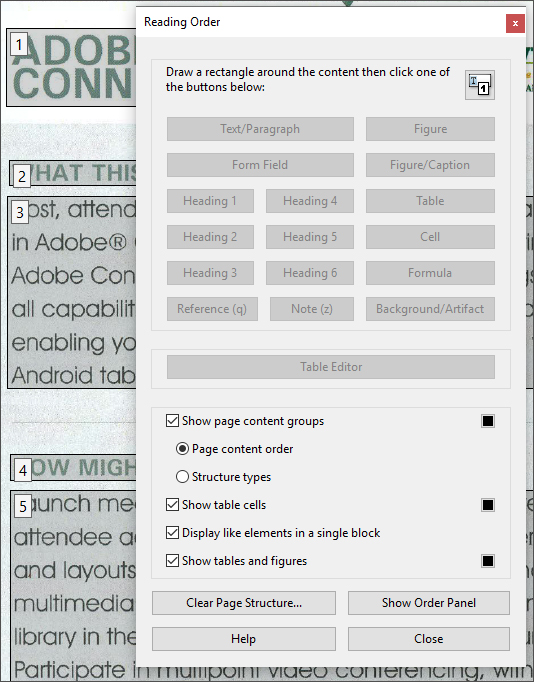
- Click and drag boxes around objects to select them.
- Once objects are selected, select a label (Text, Figure, Heading 1, etc.) within the Reading Order window.
- Continue tagging all objects within the document.
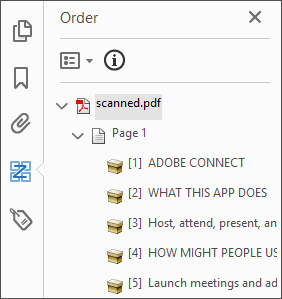
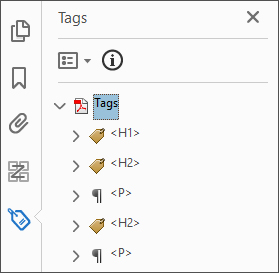
After all objects have a tag, it is important to ensure that they are read in the correct order. The Order pane displays the order in which a low vision user might choose to read the PDF document while the Tags pane displays the order in which a screen reader would read the PDF document. Both the Order and Tag pane lists should be reordered to ensure accessibility.
How to reorder the Order pane
- Select View and then select Show/Hide > Navigation Panes > Order.
- Reorder by dragging and dropping objects into the correct place (read from top to bottom).
How to reorder the Tags pane
- Select View and then select Show/Hide > Navigation Panes > Tags.
- Reorder by dragging and dropping objects into the correct place (read from top to bottom).
Images should be given alternative text, also called alt text, serving as a description of what is happening in the image. This description allows visually impaired users, through the use of a screen reader, the opportunity to receive the same content from an image that a sighted user would receive.
How to add alternative text
- Select View and then select Show/Hide > Navigation Panes > Order.
- Click on the number at the top left corner of a tagged figure.
- Right-click on a figure.
- Select Edit Alternative Text.
- Enter a description for the figure in the Alternative Text field.
- Click OK.

Alternative text tips
- Don't describe every detail of an image, just describe the main idea you are trying to convey to users.
- Be as concise as possible. If the image conveys a main idea that is already discussed in detail in the document, one sentence may be all the alt text that's needed.
- Don't begin alt text with "Image of..." because images are already identified to the user as images by the screen reader.
- Alt text should be left blank for purely decorative images, or images that don’t help with the understanding of content.
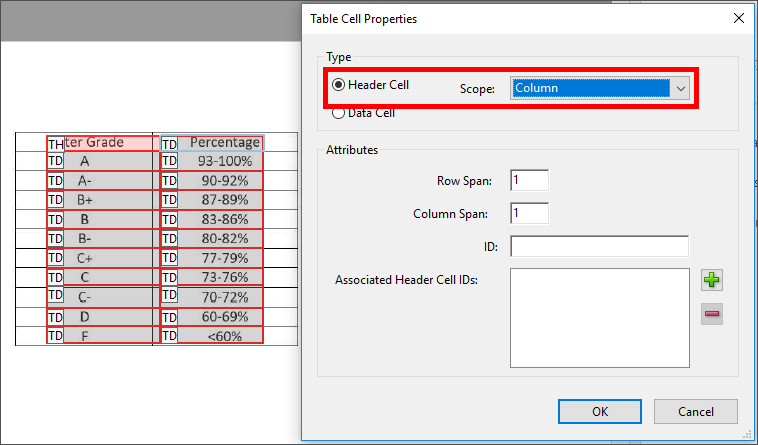
Tables must contain some kind of header cells. These header cells tell users the type of content that will be displayed in the cells underneath. Most commonly you will have only column headers (the top-most cells), but sometimes, you may have only row headers (the left-most cells) or even both row and column headers in more complicated tables.
How to add table headers
- Select View and then select Show/Hide > Navigation Panes > Order.
- Select the Options icon and then select Show reading order panel.
- Click on the number at the top left corner of a tagged table.
- Select Table Editor.
- Right-click on a table cell that needs to be made into a header cell.
- Select Table Cell Properties.
- Select the radio button next to Header Cell.
- Choose the proper heading type in the Scope dropdown menu.
- Click OK.
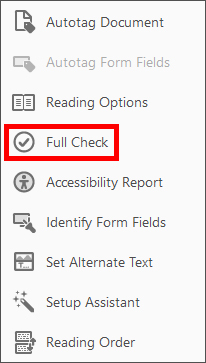
The Accessibility Checker is used to check your document for issues that could potentially make the document inaccessible to those with disabilities. Running the Accessibility Checker will yield a list of issues found in the presentation accompanied by details explaining why the issues should be fixed and instructions for how to fix them.
How to run the accessibility checker
- Select View and then select Tools > Accessibility > Open.
- Select Full Check.
- Leave all settings as their defaults and then click Start Checking.
More Help
For more help with creating accessible PDF documents, please contact Studio 6.