Microsoft Word Accessibility
 Microsoft Word Accessibility
Discover techniques that can be used to make accessible Word documents. Steps may vary depending on the version of Microsoft Word and the type of Operating System that you are using. The version used on this page is Microsoft Word 365 for PC.
Heading structure benefits both sighted users and visually impaired users. Sighted users can scroll through a document and quickly pick out the big, bold text (headings) to get an idea of the document structure and content. Visually impaired users who use screen readers can pull up a list of the document’s headings and quickly jump to any particular heading. It is important to always use the built-in heading styles to designate your headings as such. While simply bolding or enlarging text will provide visual structure, it will not provide the back-end structure to benefit visually impaired users
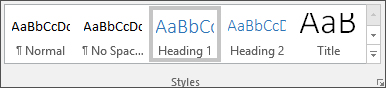
How to add heading styles
- Highlight the text that will be converted to a heading.
- Under the Home tab, locate the Styles section.
- Select the desired heading style to be applied to the text.
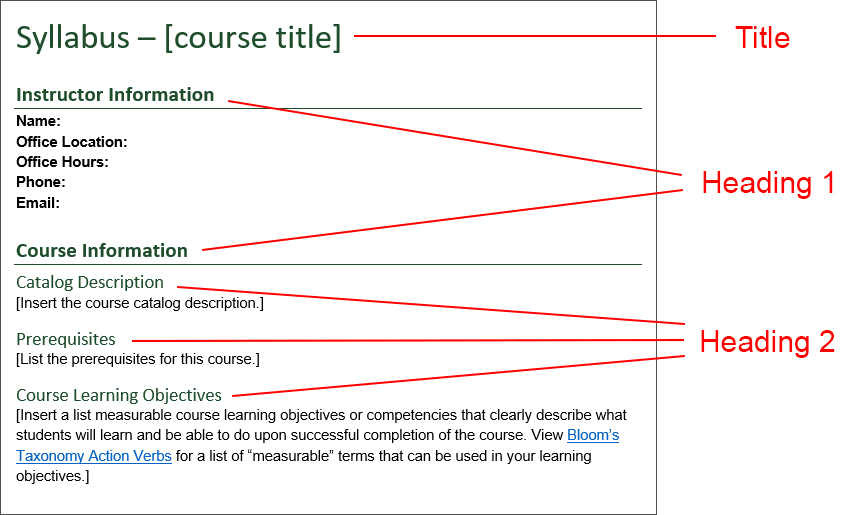
Which heading styles should I use?
Headings styles are to be used in a hierarchical manner. The Title style should be used only once per document, while Heading styles can be used multiple times. Try not to use styles lower than Heading 3.
- Title: title of the document, usually appearing at the very top.
- Heading 1: main content sections of the document.
- Heading 2: sub-headings of Heading 1.
- Heading 3: sub-headings of Heading 2.
Every hyperlink should have a clear description of its destination and the description should make sense even when taken out of context. Hyperlink descriptions tell users exactly where the hyperlink will be taking them before even clicking on it. While surrounding text may be helpful for sighted users, it will not benefit visually impaired users who choose to navigate a list of hyperlinks taken out context.
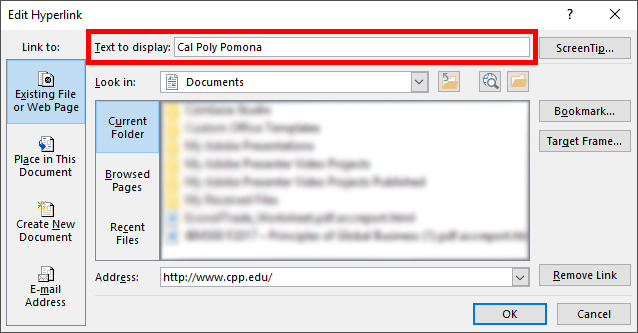
How to add hyperlink descriptions
- Right-click on a hyperlink.
- Select Edit Hyperlink.
- In the Text to display field, enter a description of the hyperlink destination.
- Click OK.
Examples of hyperlink descriptions
- Correct:
- To learn more about Canvas, visit our Canvas eHelp Tutorials.
- Incorrect:
- Canvas eHelp Tutorials: https://cpp.service-now.com/ehelp?sys_kb_id=e6c53eb087dfa5904f5098e73cbb3566&id=kb_article_view
- For more information about Canvas eHelp Tutorials, click here.
Images should be given alternative text, also called alt text, serving as a description of what is happening in the image. This description allows visually impaired users, through the use of a screen reader, the opportunity to receive the same content from an image that a sighted user would receive.
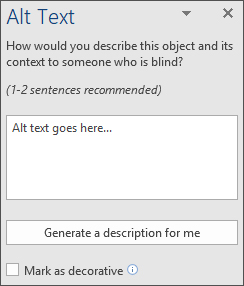
How to add alternative text
- Right-click on an image.
- Select Edit Alt Text.
- Enter a description for the image in the text field.
- Click X.
Alternative text tips
- Don't describe every detail of an image, just describe the main idea you are trying to convey to users.
- Be as concise as possible. If the image conveys a main idea that is already discussed in detail in the document, one sentence may be all the alt text that's needed.
- Don't begin alt text with "Image of..." because images are already identified to the user as images by the screen reader.
- Use Mark as decorative for purely decorative images, or images that don’t help with the understanding of content.
Tables should contain a header row, the top-most row in a table, that tells users the type of content that will be displayed in each column.
How to add table headers
- Select a table within the document.
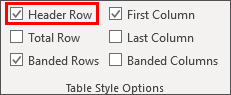
- Under the Table Tools > Design tab, locate the Table Style Options section.
- Put a check in the Header Row checkbox.
- Type text into the top row of the table to serve as the table heading(s).
- Select the top row of the table.
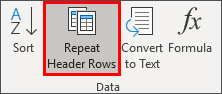
- Under the Table Tools > Layout tab, locate the Data section.
- Select Repeat Header Rows.
The Accessibility Checker is used to check your document for issues that could potentially make the document inaccessible to those with disabilities. Running the Accessibility Checker will yield a list of issues found in the document accompanied by details explaining why the issues should be fixed and instructions for how to fix them.
How to run the accessibility checker
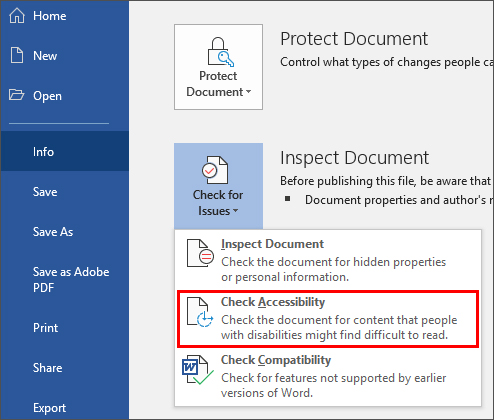
- Select the File tab.
- Select Info.
- Select Check for Issues and then select Check Accessibility.
More Help
For more help with creating accessible Word documents, please contact Studio 6.